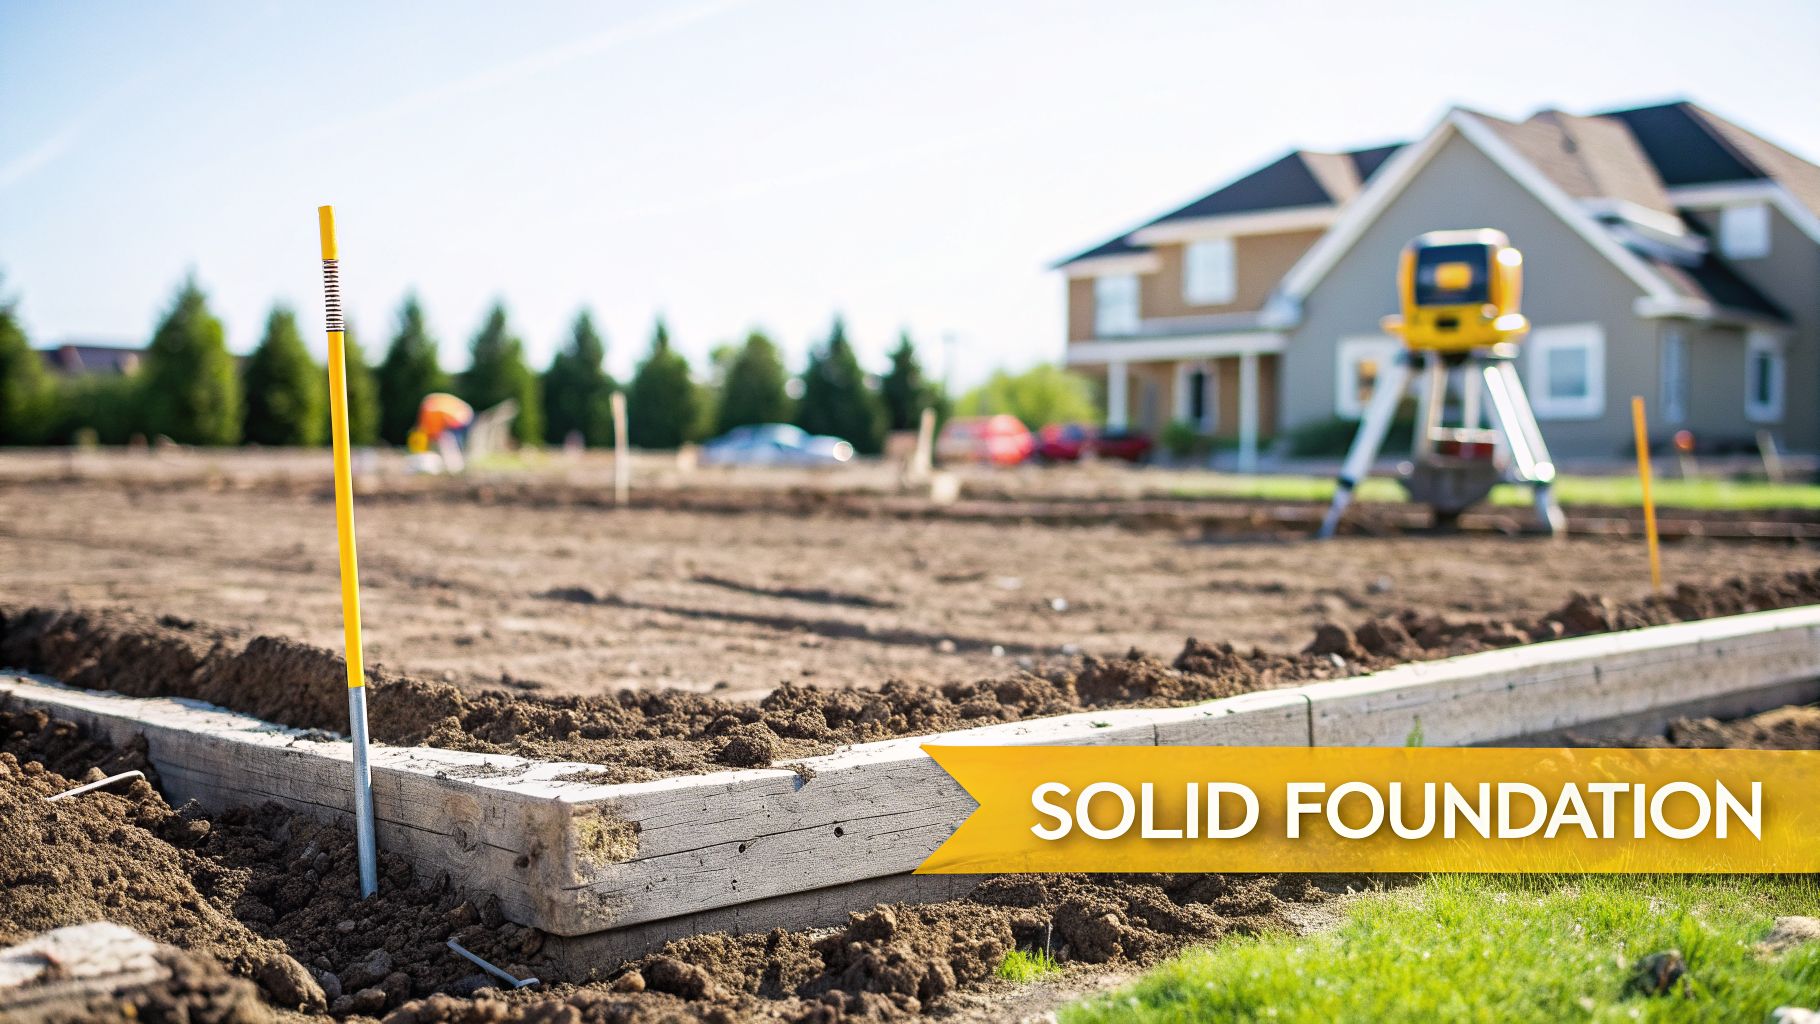
Proper soil compaction isn't just a step in the process; it's the bedrock of a successful project. This is the crucial stage where we mechanically press soil particles together, forcing out air to create a dense, stable mass. Getting this right is the single most important step to prevent the cracked driveways, sinking pavers, and failing retaining walls we see all too often across the Central Coast.
Without it, you're essentially building on unstable ground—a recipe for disaster and expensive future repairs. It's the difference between a project that lasts a lifetime and one that fails in a few short years. At Booms Up Civil, we've spent over 15 years getting this right the first time, ensuring every project starts on solid ground.
Why Proper Soil Compaction Is Not Optional
Before you even think about picking up a tool, it’s vital to understand why learning how to compact soil correctly is non-negotiable. Think of it as the unsung hero of any construction or landscaping job. When it’s done right, no one notices. But when it’s done wrong, the failures are impossible to ignore.
At its core, compaction removes air voids between soil particles. This increases the soil's density, which in turn boosts its load-bearing capacity and stops water from seeping in and weakening the ground beneath your structure.
This isn’t just theory; it has real-world consequences across the Central Coast, Sydney, and the Hunter Valley. Imagine you're preparing a site for a new home build in a suburb like Kariong, which has notoriously mixed soil types. If the ground isn't uniformly compacted, one part of the house slab might settle more than another over time. This uneven settlement, known as differential settlement, puts immense stress on the building's structure, leading to cracked walls, jammed doors, and potentially serious foundation damage.
The Science Behind a Solid Base
Understanding the soil's physical properties is a key part of our process at Booms Up Civil. In our line of work, we rely on scientific benchmarks to guarantee stability. Knowing the regional compaction risks is vital for civil contractors handling everything from land clearing to structural landscaping on the Central Coast.
For example, specific bulk density thresholds can signal problems. Pushing past 1.65 g/cm³ in the sandy soils common near coastal Sydney, or 1.85 g/cm³ in clay loams, can actually hinder root growth and water movement, creating a base that's too dense. For a deeper dive into these technical soil properties, you can explore the research on soil compaction management.
This technical knowledge is what ensures the foundations we prepare are built to last. It’s what gives our clients peace of mind, knowing their project starts on truly solid ground.
The Cost of Cutting Corners
Skipping or rushing soil compaction is one of the most expensive mistakes you can make on a job site. What might seem like saving a day's labour or a hire fee for a plate compactor can lead to catastrophic failures down the track.
Just consider these all-too-common scenarios we get called in to fix:
- A Sinking Driveway: A poorly compacted base under a new concrete driveway in Newcastle will inevitably lead to sinking, cracking, and an uneven surface. The cost to rip it up and start again is many times the initial cost of proper preparation.
- A Failed Retaining Wall: A retaining wall built on uncompacted fill is a ticking time bomb. The immense pressure of the backfill will eventually cause the wall to bulge, lean, or collapse entirely, posing a serious safety hazard.
- A Bumpy Paved Patio: If you're laying pavers for a new outdoor area on the Central Coast, inconsistent compaction will result in low spots where water pools and pavers become wobbly and unsafe.
Ultimately, proper compaction is an investment in durability and safety. It's the difference between a project that stands the test of time and one that needs constant, costly repairs. Understanding that excavation and foundation work is the first step to success is crucial.
Know Your Ground: The First Step in How to Compact Soil
Before you lift a single shovel or start an engine, the most critical part of any compaction job is understanding the ground you're working with. It's a step that’s all too often rushed, but getting it wrong can undermine your entire project.
The soil in New South Wales is incredibly diverse. The sandy, free-draining ground you’ll find on a coastal site in Copacabana behaves completely differently from the heavy, reactive clays common in the Hunter Valley. One lets water flow right through; the other holds onto it, swelling and shrinking with the seasons. Getting this wrong is how you end up with cracked slabs and sinking driveways.
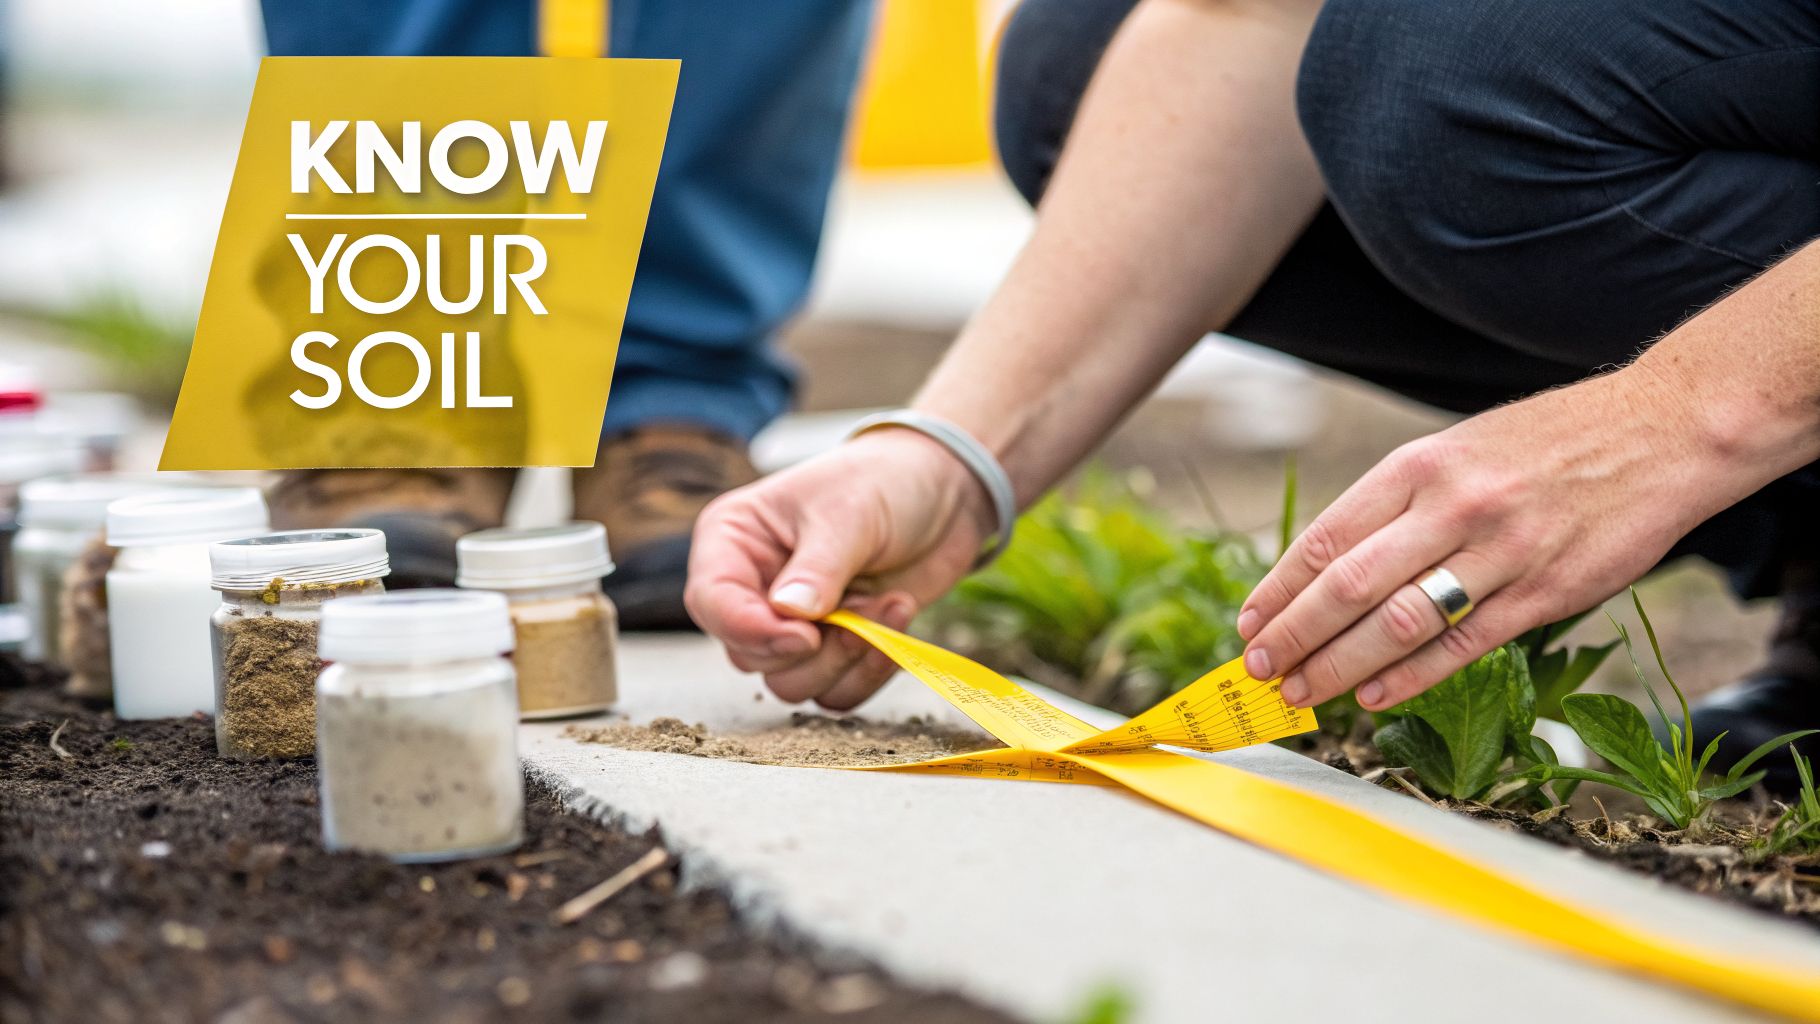
A Quick Field Test We Use on Site
You don't need a full geotechnical lab to get a decent feel for your soil's composition. We often start with a simple, hands-on method called the ribbon test. It’s a fast and effective way to gauge the clay content right there on site.
Grab a handful of moist soil and try to squeeze it out between your thumb and forefinger, forming a "ribbon."
- Sandy soils: Won't form a ribbon at all. They’ll just crumble.
- Loamy soils: Might form a short, weak ribbon that breaks off easily.
- Clay-rich soils: Will form a long, pliable ribbon, sometimes 5-7cm or longer, before it breaks.
This quick check gives you immediate insight. Sandy soil needs vibration to lock its particles together. That heavy clay? It’s going to need serious impact force to overcome its sticky nature and force out the air pockets.
Here’s a quick reference for the common soil types we encounter across the Central Coast, Sydney, and Hunter regions and how they behave.
Soil Types and Compaction Characteristics
| Soil Type | Key Characteristics | Compaction Tips |
|---|---|---|
| Sand/Gravel | Large, granular particles. Gritty feel. Drains water very well. | Best compacted with a vibratory plate compactor or roller. Moisture control is less critical, but some dampness helps settle particles. |
| Silt | Fine particles, smooth or floury when dry. Feels slippery when wet. | Can be tricky. Prone to becoming "spongy" if too wet. Needs careful moisture control and a combination of vibration and static weight. |
| Clay | Tiny, sticky particles. Hard when dry, plastic and slick when wet. Poor drainage. | Requires high-impact force from a rammer or sheepsfoot roller to knead the particles together. Optimal Moisture Content is absolutely critical. |
| Loam | A balanced mix of sand, silt, and clay. Dark colour, crumbles easily. | Generally the easiest to work with. Responds well to most compaction equipment, but moisture content still matters. |
Understanding these basic profiles is the first step toward choosing the right equipment and technique for the job.
The Real Secret: Optimal Moisture Content
Brute force alone won't get you a properly compacted base. The real secret ingredient is water—specifically, the right amount of it. In our world, we call this the Optimal Moisture Content (OMC). It’s that perfect sweet spot where the water acts as a lubricant, helping soil particles slide past each other and pack into the tightest possible arrangement.
Think of building a sandcastle. Too dry, and the sand just crumbles. Too wet, and you’ve got a sloppy mess. But get that moisture just right, and you can pack it into a firm, solid structure that holds its shape. That’s precisely the principle behind soil compaction.
Too little water means friction between particles will fight you every step of the way, preventing good density. But add too much, and the water fills the very voids you’re trying to close up, effectively pushing the particles apart. Driving heavy machinery over overly wet ground is a primary cause of subsurface hardpan, a dense layer that can form 10 to 40 centimetres deep, blocking water infiltration and causing major headaches down the track.
Getting the water balance right is fundamental, as poor drainage can lead to serious issues like foundation water damage. While a professional Proctor test is the only way to find the exact OMC in a lab, you can get a good estimate in the field. Squeeze a handful of your soil—it should form a solid ball without crumbling and leave your hand moist, but it shouldn't be so wet that water drips out. Mastering this feel for the soil is a core skill in any cut and fill earthworks project and is non-negotiable for a lasting result.
Choosing the Right Compaction Equipment for the Job
Using the right tool for the job is what separates a rock-solid base from a future failure. When it comes to compaction, it’s not about grabbing the biggest, heaviest machine you can find; it’s about matching the equipment’s force and frequency to your specific soil type and the scale of your project.
You wouldn’t use a sledgehammer to hang a picture frame, right? In the same way, running a heavy vibratory plate over thick, wet clay is often a waste of time. You’re much better off with a high-impact rammer that punches and kneads the soil into shape. This is the kind of on-the-ground knowledge that makes all the difference.
Hand Tools and Small Machinery
For smaller residential jobs or sites with tight access, you won’t need a massive roller. Your main options will be manual tampers or small-engine compactors, which you can often hire from local suppliers. You can find a range of machinery from leading construction tools suppliers suited to different soil types and project scales.
Manual Hand Tampers: This is your most basic tool—a heavy, flat steel plate on a long handle. They are absolutely essential for getting into tight corners, compacting soil around pipes, or getting right up against a foundation wall where a machine can't reach. It's hard yakka, but there's no substitute for that detailed finishing work.
Vibratory Plate Compactors: Known on-site as 'wacker packers,' these are the workhorses for most residential jobs. They use a flat plate that vibrates at high frequency, which is brilliant for settling granular soils like sand, gravel, and road base. This is the go-to machine for prepping a driveway base in a coastal suburb like Avoca Beach or laying the foundation for a paver patio.
Trench Rammers: Often called 'jumping jacks,' these machines deliver a high-impact, concentrated blow directly downwards. This powerful punching action makes them far more effective on cohesive soils, like the heavy clays found across the Hunter Valley or parts of western Sydney. The kneading motion forces out air pockets that a plate compactor would just skim over.
The key takeaway is simple: Vibration for granular soils, impact for cohesive soils. Mismatching the machine to the material is one of the most common DIY mistakes we see. It results in a base that looks perfectly fine on top but is weak and unstable underneath.
Heavy Compaction Equipment for Larger Sites
Once we move onto larger commercial sites, new home builds, or civil projects for a body like Central Coast Council, the scale of the equipment changes dramatically. These are the machines we rely on at Booms Up Civil to efficiently achieve specified density levels over large areas.
Smooth Drum Rollers are perfect for creating a sealed, uniform surface on granular or semi-cohesive soils. You’ll see them working on everything from new carparks to major road sub-bases.
Padfoot or Sheepsfoot Rollers have a drum covered in "feet" or protrusions. These feet concentrate the machine's entire weight into small areas, kneading the soil from the bottom of the lift upwards. They are absolutely essential for properly compacting thick layers of clay and silt. To see how these machines work alongside other plant, you can check out our complete guide to excavator attachments.
DIY Hire vs. Calling in the Professionals
So, when should you hire a compactor versus calling in a team like ours?
For a small, non-structural job like a garden path, hiring a plate compactor for the weekend might be a perfectly fine project. But remember, the cost of hire, transport, and your own time can add up faster than you think.
For anything structural—a driveway, a house slab foundation, or a retaining wall footing—the risks of getting it wrong are simply too high. A professional team doesn’t just bring the right machinery; we bring the experience to read the soil, manage the moisture content, and achieve the certified density required by Australian Standards. Getting it right the first time is always, without fail, cheaper than paying to fix a failure down the track.
Your Guide to Achieving Perfect Compaction
Now that you’ve got the right machine for the job, it’s time to get your hands dirty. Knowing how to compact soil isn't just about running a machine back and forth; it's a methodical process that ensures a uniformly dense base. Getting this stage right is what separates a professional result from a future problem.
First things first, you need to prepare the area. This means clearing away any organic matter like grass, roots, or topsoil. These materials will only decompose over time and create voids, leading to sinking and failure down the track. Once cleared, you'll perform an initial grade to level out the surface as much as possible before bringing in your fill material.
The Golden Rule of Compaction: Working in Lifts
This is the most important rule in compaction, and it's where most DIY jobs go wrong. You have to build up your base in thin, manageable layers known as 'lifts'. Trying to compact a deep, 300mm pile of dirt in one go is a rookie error that guarantees failure.
A heavy compactor might make the top surface look solid, but the compaction energy won't penetrate deep enough, leaving the bottom loose and unstable.
As a rule of thumb, each lift should be no more than 100-150mm thick before compaction. This allows the force from the machine to work through the entire layer, densifying it properly.
Imagine you're building up the base for a new concrete driveway on a block in Terrigal. You wouldn't just dump all the road base in at once. You'd spread one 150mm lift, check your moisture, compact it thoroughly, and only then add the next layer. It's a slower process, but it's the only way to build a foundation that won't sag and crack under the weight of a car.
Mastering the Technique for Even Density
Operating the compaction equipment correctly is just as important as working in lifts. You can't just do one quick pass and call it a day. The goal is even, consistent density across the entire area, which requires a systematic approach.
For a standard vibratory plate compactor, you'll generally need to make at least 3-5 passes over every part of the surface. A 'pass' is one trip over an area, so a full back-and-forth movement counts as two passes.
It’s crucial to overlap each pass by about half the width of the machine’s plate to avoid creating uncompacted strips between your runs. You should work in a grid pattern—first going north-south and then east-west—to ensure maximum coverage.
This infographic shows a simplified flow for choosing your compaction equipment based on the project's scale.
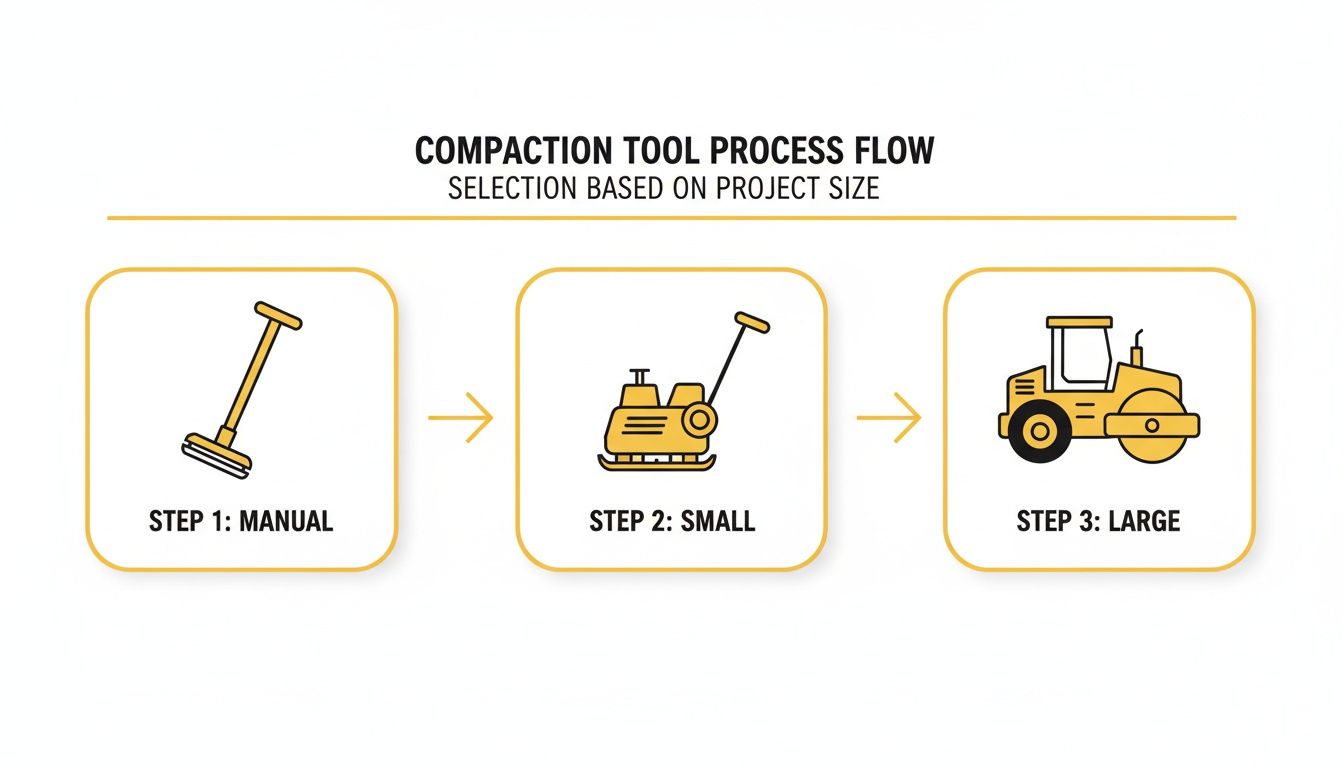
This process highlights how the equipment choice scales up from manual tools for tight spots to large rollers for major earthworks.
A Pro Tip: Pay close attention to the sound and feel of the compactor. As the ground becomes denser, the machine will start to 'bounce' or 'chatter' more on the surface instead of digging in. This is a good physical indicator that you are approaching maximum compaction for that lift.
Throughout this process, moisture remains your best friend. If you notice the soil kicking up a lot of dust, it's too dry. Give it a light spray with a hose—just enough to dampen it, not to create puddles. This lubrication helps the soil particles settle into place, achieving that rock-solid finish you're after. This attention to detail is fundamental for any structural work, from small residential jobs to large-scale commercial projects.
How to Tell If Your Soil Is Properly Compacted
You’ve done all the prep work, layered the fill, and spent hours with the compactor. So, what now? The real test isn't just knowing how to compact soil; it's being able to verify that the ground is genuinely solid enough for what comes next. This is what separates a quick fix from a foundation built to last.
The method you use to check your work depends entirely on the job. For small, non-structural projects like a garden path, a few simple physical checks will do the trick. The surface should look completely uniform, feel solid underfoot, and have absolutely no spongy or soft spots.
One of the best DIY methods is the screwdriver test. Grab a standard flat-head screwdriver and try to force it into the compacted ground using your body weight. If it slides in easily, you’ve still got more compacting to do. If you can only get it in a few centimetres with some serious effort, you’re on the right track.
Professional Testing for Certified Results
When it comes to anything structural—a driveway, a house slab, a retaining wall footing—those simple checks are nowhere near enough. For these critical jobs, you need hard data. You need verifiable proof that the compaction meets Australian Standards and will be signed off by a certifier or the local council, whether it’s on the Central Coast or in Newcastle.
This is where professional geotechnical testing comes in, giving us precise, undeniable data on the soil's density. For any foundation that needs to bear a significant load, compaction testing is non-negotiable. Poor soil prep is behind a huge number of structural issues in Australian homes. Proper compaction doesn't just create a stable base; it shrinks the space between soil particles, which helps prevent erosion and dramatically reduces the risk of future swelling or rutting. For a deeper technical dive, you can read more about the importance of these tests in construction.
Understanding the Nuclear Densometer Test (NDT)
The industry standard for checking compaction on-site is the Nuclear Densometer Test (NDT). You’ll often hear it called a 'nuke test', and it gives us a fast, highly accurate reading of both the soil’s density and its moisture content right there on the job.
The NDT works by inserting a probe into the freshly compacted lift. This probe emits a tiny, safe amount of radiation, and a detector measures how much of it gets through the soil. The denser the ground, the less radiation passes through, which gives us an exact density measurement. This lets us confirm, in real-time, that a lift is properly compacted before we even think about adding the next one. It’s an essential step for any work that needs formal certification.
Hitting the Target: The Proctor Test
So, if the NDT is the test, what's the pass mark? That magic number comes from a lab procedure called the Proctor test, performed under Australian Standard AS 1289.5.1.1.
Before the project kicks off, we take a sample of the site’s soil to a geotechnical lab. There, it's put through a series of tests to find its Maximum Dry Density (MDD) and Optimal Moisture Content (OMC). Think of the MDD as the absolute densest that specific soil can get, and the OMC as the perfect amount of water needed to achieve that density.
Back on-site, our job is to compact the soil to a certain percentage of that MDD. For most structural work, the target is 95% to 98% of the lab-tested maximum. The NDT readings tell us when we’ve hit that target, giving us the certified proof needed to move forward. Understanding this relationship between lab targets and on-site testing is fundamental to the entire process of preparing the excavation for a foundation.
Common Compaction Mistakes and When to Call a Pro
Even with the best intentions and a hired machine, knowing how to compact soil correctly can be tricky. After 15 years working on sites across the Central Coast, we've seen nearly every compaction mistake in the book.
Getting it wrong isn’t just about a bumpy path; it can lead to serious structural failures and thousands of dollars in rework down the line. The most common errors we see are surprisingly simple: failing to prepare the subgrade, using the wrong machine for the soil, making layers far too thick, or completely misjudging the moisture.
When Is DIY a Sensible Option?
An honest assessment of when to tackle a job yourself versus calling in a pro is crucial. A bit of DIY can be rewarding, but it's vital to know your limits to avoid turning a small job into a huge, expensive problem.
DIY is generally fine for small, non-structural projects where the consequences of getting it wrong are low. Think of these scenarios:
- A Small Garden Shed Pad: If you're putting down a base for a 3x3m tin shed, hiring a plate compactor for a weekend is a perfectly reasonable approach.
- A Simple Garden Path: Compacting the base for a narrow garden path with pavers is another very manageable DIY task.
- Minor Landscaping Edging: Filling and tamping the soil behind a small, decorative garden edge is well within a homeowner's capability.
Even with these smaller jobs, you still have to get the fundamentals right—clean subgrade, thin lifts, and correct moisture. If you get it slightly wrong here, the worst-case scenario is usually just a bit of unevenness you’ll have to fix later.
When You Absolutely Need to Call a Professional
There are clear red lines where a DIY attempt becomes a major risk. For certain jobs, the structural integrity, safety requirements, and potential for catastrophic failure make professional expertise non-negotiable.
You should always call in the professionals for:
- Any Structural Foundation: This means slabs for houses, granny flats, garages, or significant extensions. The entire weight of the building rests here, and compaction failure is simply not an option.
- Driveways and Carparks: These surfaces have to bear the constant weight and movement of vehicles. Improper compaction will lead to cracking, rutting, and a surface that fails years before it should.
- Structural Retaining Walls: The base footing for any retaining wall over 600mm high is critical. Get the compaction wrong here, and you risk wall failure, which is a massive safety hazard.
- Sites with Reactive Clay or Poor Soil: If you're on the difficult clay soils found inland or on a site with known stability issues, you need an expert who knows exactly how to handle them.
- Steep or Sloping Blocks: Compacting on a slope introduces unique challenges with stability and drainage that demand professional equipment and techniques.
- Any Work Requiring Council Certification: If your project needs to be signed off by Central Coast Council, Newcastle Council, or another authority, you'll need certified compaction tests. This is something only a professional can provide.
Safety, Compliance, and Getting It Right the First Time
Beyond the technical side, bringing in a team like Booms Up Civil ensures everything is done by the book. We are fully versed in SafeWork NSW regulations for operating heavy machinery and managing a construction site safely—protecting not just our team, but you and your property as well.
Ultimately, the decision comes down to risk. For a small garden path, the risk is low. For a house foundation, the risk is immense. Getting it right the first time is always the most cost-effective solution in the long run.
The money spent on professional compaction is a long-term investment in the durability and safety of your property. If you're still unsure about the scope of your project, our guide on finding the right excavation contractors near you can offer more advice.
If your project falls into the "call a pro" category, or you simply want the peace of mind that comes from a job done right, Booms Up Civil is here to help. We have the experience and equipment to handle any compaction challenge across the Central Coast, Sydney, Newcastle, and the Hunter Valley.
Get in touch for a no-obligation chat about your project. Call us on (02) 4312 6400 or fill out our online form for a free quote.