
Excavating for a new foundation is far more than just digging a hole; it's the critical first step that dictates the stability and success of the entire build. This process is all about moving soil and rock to create a perfectly level and stable base for your building’s footings and slab. And honestly, the success of the job hinges on meticulous planning—from site assessments and council approvals to locating underground services before a single bucket of dirt is shifted.
Laying the Groundwork for a Successful Excavation
The fate of your entire project is often sealed long before an excavator even rolls onto the site. This initial phase is purely about smart, detailed planning to head off costly and stressful surprises down the track. Getting these first steps right is what ensures the whole excavation for your foundation proceeds smoothly, safely, and on schedule.
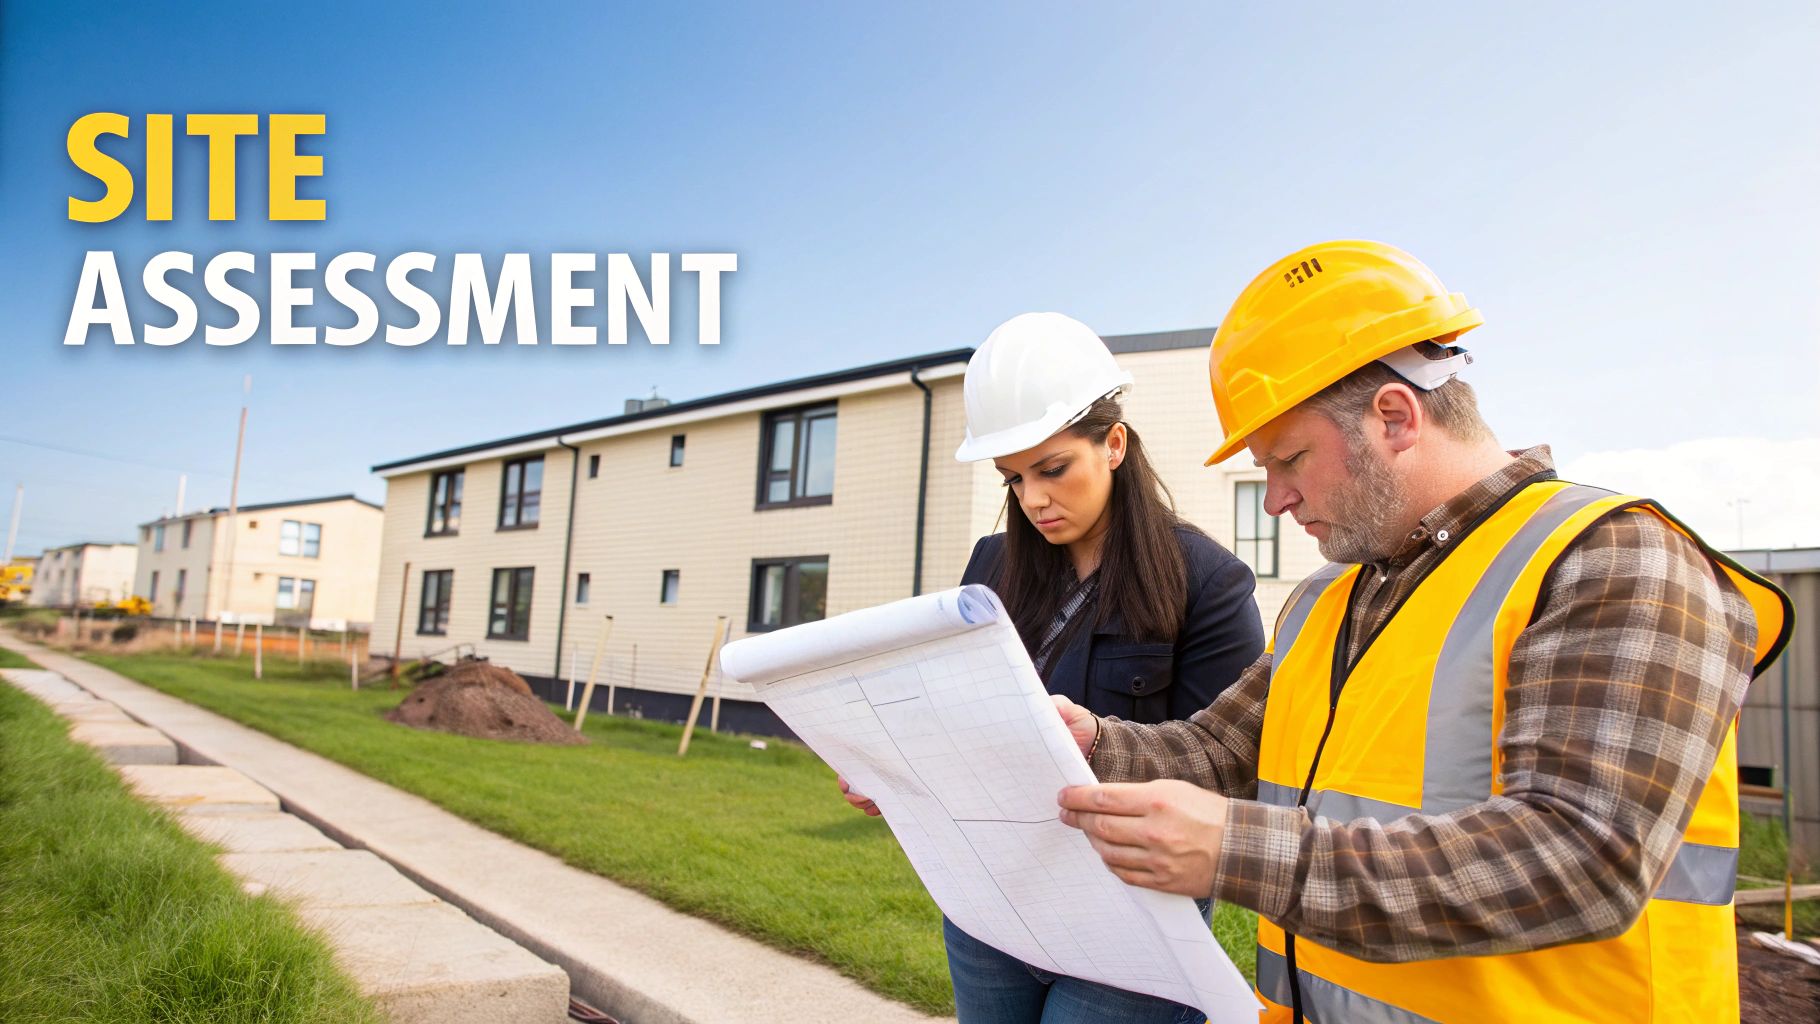
A thorough site assessment is the absolute non-negotiable starting point. Every single block of land has its own unique character and challenges that will dictate exactly how we approach the job.
Let's consider a real-world scenario: a sloping block in Terrigal with sandy soil demands a completely different excavation strategy compared to a flat, clay-based site in the Hunter Valley. The Terrigal job will need careful planning for machine access, serious erosion control for that coastal weather, and potentially a stepped foundation design.
Meanwhile, the Hunter Valley site might seem more straightforward, but it could throw up major challenges with reactive clay soils that swell and shrink with moisture changes. Understanding these kinds of factors from day one is essential.
Navigating Council Requirements and Safety Checks
Before any soil can be turned, there are critical administrative and safety hurdles you have to clear. First up is navigating your local council requirements. For most new builds or major extensions, you'll need to lodge a Development Application (DA) with your local council, whether that's the Central Coast Council or Newcastle City Council.
This application must include your full architectural and engineering plans, which detail the exact specifications for the foundation excavation. Securing this approval isn't just a box-ticking exercise; it’s a legal requirement that confirms your project meets all local planning and building codes. For a deeper dive into these initial stages, our guide on comprehensive site preparation provides some valuable insights.
Critical Safety Step: A Dial Before You Dig search is mandatory before any excavation work begins. This free national service provides plans detailing the location of underground utilities like water pipes, gas lines, and telecommunication cables. Accidentally hitting one of these services is not only incredibly dangerous but can also lead to eye-watering repair bills and significant project delays.
To keep track of these essential first steps, it's helpful to have a clear checklist. We've put one together to summarise the key milestones before you can break ground.
Pre-Excavation Planning Checklist
| Milestone | Why It Matters | Typical Timeframe | Who Is Responsible |
|---|---|---|---|
| Geotechnical Report | Identifies soil type, stability, and potential issues like rock or groundwater, directly influencing foundation design. | 1-2 weeks | Geotechnical Engineer |
| Development Application (DA) | Secures legal permission from the local council to proceed with the construction as planned. | 8-12 weeks (or more) | Property Owner/Architect |
| Dial Before You Dig (DBYD) | Prevents dangerous and costly damage to essential underground services like gas, water, and electricity. | 1-2 business days | Excavation Contractor |
| Site Survey | Establishes property boundaries and existing ground levels, crucial for accurate excavation depth and placement. | 1 week | Registered Surveyor |
This table isn't exhaustive, but it covers the non-negotiable checks that protect your project from a legal, financial, and safety perspective. Getting these elements sorted upfront is the hallmark of a professionally managed project.
Decoding Your Site's Soil Classification
So, what's hiding under your block of land? The answer to that question will have a massive say in your foundation's design, its cost, and whether it stands the test of time. Before we can even think about starting the big dig, we have to get to know the ground itself. This is where a geotechnical engineer becomes the most important person on your team.
Think of their report as the official instruction manual for your excavation. They’ll look at things like soil type and moisture, but the real prize is figuring out the soil’s bearing capacity—that’s its ability to safely hold up the weight of your entire house. Trust me, with the mixed bag of ground conditions we see across NSW, this is not a step you want to shortcut.
Why a Geotechnical Report Isn't Optional
Let's paint a picture. Imagine you're building near the coast in Newcastle. You're likely dealing with sandy, porous soil. Now, compare that to a site inland towards the Hunter Valley, which is famous for its reactive clay. These are two completely different beasts.
The sandy site might need deeper footings to find solid, stable ground. The clay site, on the other hand, needs a foundation engineered to handle the ground literally swelling and shrinking as it gets wet and dries out.
A good geotechnical report takes all the guesswork out of the equation. It gives your engineer the hard data they need to design a foundation that won't give you grief down the track. It’s your best defence against future headaches like cracked walls or sloping floors, which almost always trace back to a foundation that wasn't right for the soil it was built on.
Making Sense of Australian Standard AS 2870
All the technical findings from the geo report get boiled down into a simple letter grade, outlined in Australian Standard AS 2870, "Residential Slabs and Footings." This classification is a quick, easy way to tell your builder and engineer just how much your soil is likely to move.
Here's a quick rundown of what those letters actually mean for your project:
- Class 'S' (Slightly reactive): This is the good stuff. Generally stable ground with very little movement, common in sandy areas. It usually means a more straightforward and less expensive foundation design.
- Class 'M' (Moderately reactive): Now we're getting into clay territory. You can expect some ground heave, so the foundation needs to be engineered with extra stiffness to cope with the movement.
- Class 'H' (Highly reactive): This means the ground is expected to move a lot. Your foundation will need to be seriously robust, often involving much deeper concrete beams or even piers to transfer the house's weight down to more stable earth.
- Class 'P' (Problem site): This is the big red flag. It points to major issues like uncontrolled fill from previous work, soft soils (think of the wetlands around Tuggerah), or a seriously steep slope. A 'P' site will always require a custom-engineered solution.
Getting your site's classification isn't just about ticking a box for the council. It’s the single most important piece of the puzzle for ensuring your home is built on a solid footing. Every single decision made during the excavation for foundation is based on this report.
This classification tells us exactly how deep to dig the footings, what drainage we'll need to install, and how to execute the perfect site cut for your new build. Without it, we’re just digging in the dark.
Planning the Dig from Depths to Machinery
With the soil classified and the plans stamped for approval, we can finally move from the paperwork to the real work of breaking ground. This is where the lines on an engineer's drawing get translated into precise cuts, and it’s a game of millimetres. Every single measurement has to be spot on to make sure the foundation is perfectly positioned and supported for decades to come.
First things first, we meticulously mark out the site based on the architectural plans. This involves calculating the exact depths for all the footings and any trenches needed for plumbing and electrical services. We also factor in any "set-downs"—these are sections of the slab that sit a little lower, usually for wet areas like bathrooms or laundries, to contain any potential water spills.
Translating Plans to Precision on Site
Every single measurement is critical. Dig a footing too shallow, and it simply won’t have the bearing capacity required to support the structure. Go too deep, and you're just wasting concrete and money. It’s a delicate balance that a skilled operator manages, constantly checking levels against the surveyor's pegs to guarantee accuracy. This is the first, and most important, step in getting the excavation for foundation right the first time.
Imagine building a split-level home on a classic sloping block in Kariong. The dig would involve multiple levels, footings for retaining walls, and a network of complex drainage trenches. If we get that wrong, the different floor levels won't line up, creating an absolute nightmare for the carpenters and plumbers who follow us.
Ensuring Wall Stability and Choosing the Right Machine
Safety is always the number one priority, especially when we're digging deep trenches for footings or basements. To stop the walls from collapsing—a major risk flagged by SafeWork NSW—we rely on proven techniques like battering or benching.
- Battering involves sloping the sides of the excavation at a safe, calculated angle.
- Benching is when we cut a series of steps or 'benches' into the sides of a deep dig.
Which method we use comes down to the soil type and the depth of the excavation, but both are designed to relieve pressure and create a safe environment for everyone on site.
The simple flowchart below shows how the initial soil testing process influences these critical decisions.
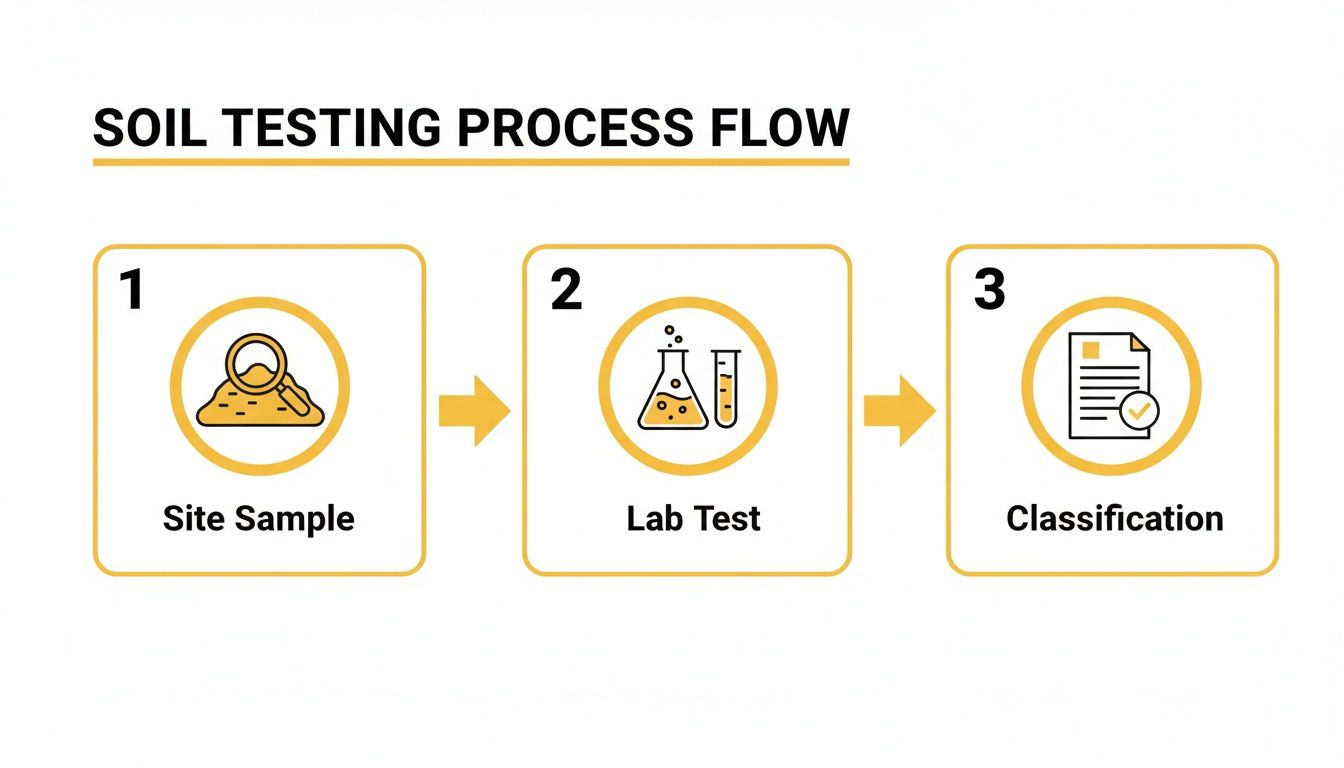
This workflow, from taking a sample to getting the final classification, directly informs the safety measures and machinery we’ll bring to your job.
Choosing the right machine is just as crucial as the digging technique itself. You can't just bring a massive 20-tonne excavator onto a tight suburban block in North Sydney with narrow access; a smaller, more agile machine is what’s needed there. On the flip side, for bulk earthworks on a new housing estate out in the Hunter Valley, a larger machine is the only way to get the job done efficiently. Making the right call saves time and money, a point we cover in more detail in our guide on excavator hire options on the Central Coast.
Key Takeaway: The machinery and safety methods we use are never random. They are carefully selected based on your site's specific conditions, the engineering requirements, and the absolute need to keep the project safe and efficient.
To make sure our gear is always ready for the job, sticking to a comprehensive heavy equipment maintenance checklist is non-negotiable. It prevents costly delays and ensures that when we break ground, every single move is deliberate, precise, and safe.
Managing On-Site Safety and Compliance
An excavation site is more than just a construction zone; it's a high-risk environment. Safety isn't just a priority here—it's a non-negotiable legal and moral requirement. Managing an active dig goes far beyond just moving dirt. It demands a strict, disciplined commitment to safety protocols and full compliance with SafeWork NSW regulations to protect our team, your property, and the public.
This commitment starts with one hard-and-fast rule: any trench or excavation deeper than 1.5 metres requires specific engineering controls to prevent a collapse. This isn’t a guideline, it’s a line in the sand. Depending on the soil type and the surrounding pressures, this might mean shoring the walls with heavy-duty supports or battering the sides back to a stable, safe angle. For any deep footing or basement dig, a deep understanding of shoring in excavation isn't just helpful—it's critical.
Creating a Safe Work Environment
A huge part of on-site safety is simply about establishing clear boundaries and tight controls. We set up designated exclusion zones to keep unauthorised people and the general public a safe distance from the active work area. On the tight residential sites common across Sydney and the Central Coast, managing the movement of heavy machinery and trucks is absolutely crucial to preventing accidents.
Effective Construction Risk Management strategies are the backbone of safeguarding both our crew and the project timeline, especially during the high-stakes excavation phase. This also includes practical measures like sediment and erosion controls. Silt fences might seem simple, but they're vital for stopping soil from washing off-site and polluting local waterways—a detail that councils like Central Coast Council take very seriously.
At the heart of our safety planning is the Safe Work Method Statement (SWMS). This document is mandatory for all high-risk construction work, and that absolutely includes foundation excavation. It meticulously details the step-by-step process of the job, identifies every potential hazard we can anticipate, and outlines the precise control measures we’ll use to manage those risks.
Understanding the Real Risks
This intense focus on safety is driven by hard data and real-world experience. Excavation work carries well-documented risks, and Safe Work Australia figures consistently show that construction is one of the nation’s higher-risk industries for serious injuries and fatalities.
Over any typical five-year period, the sector records dozens of worker fatalities and thousands of serious claims. A significant number of these incidents relate directly to earthmoving machinery, trenching, and ground collapse. You can explore more construction industry safety data on their website to see the numbers for yourself.
Hiring a professional contractor means you’re bringing in a team that not only understands these risks but is legally and ethically bound to manage them. It’s about making sure the job isn’t just done with precision, but that it's completed without incident, protecting everyone involved from start to finish.
Completing the Job with Inspections and Backfilling
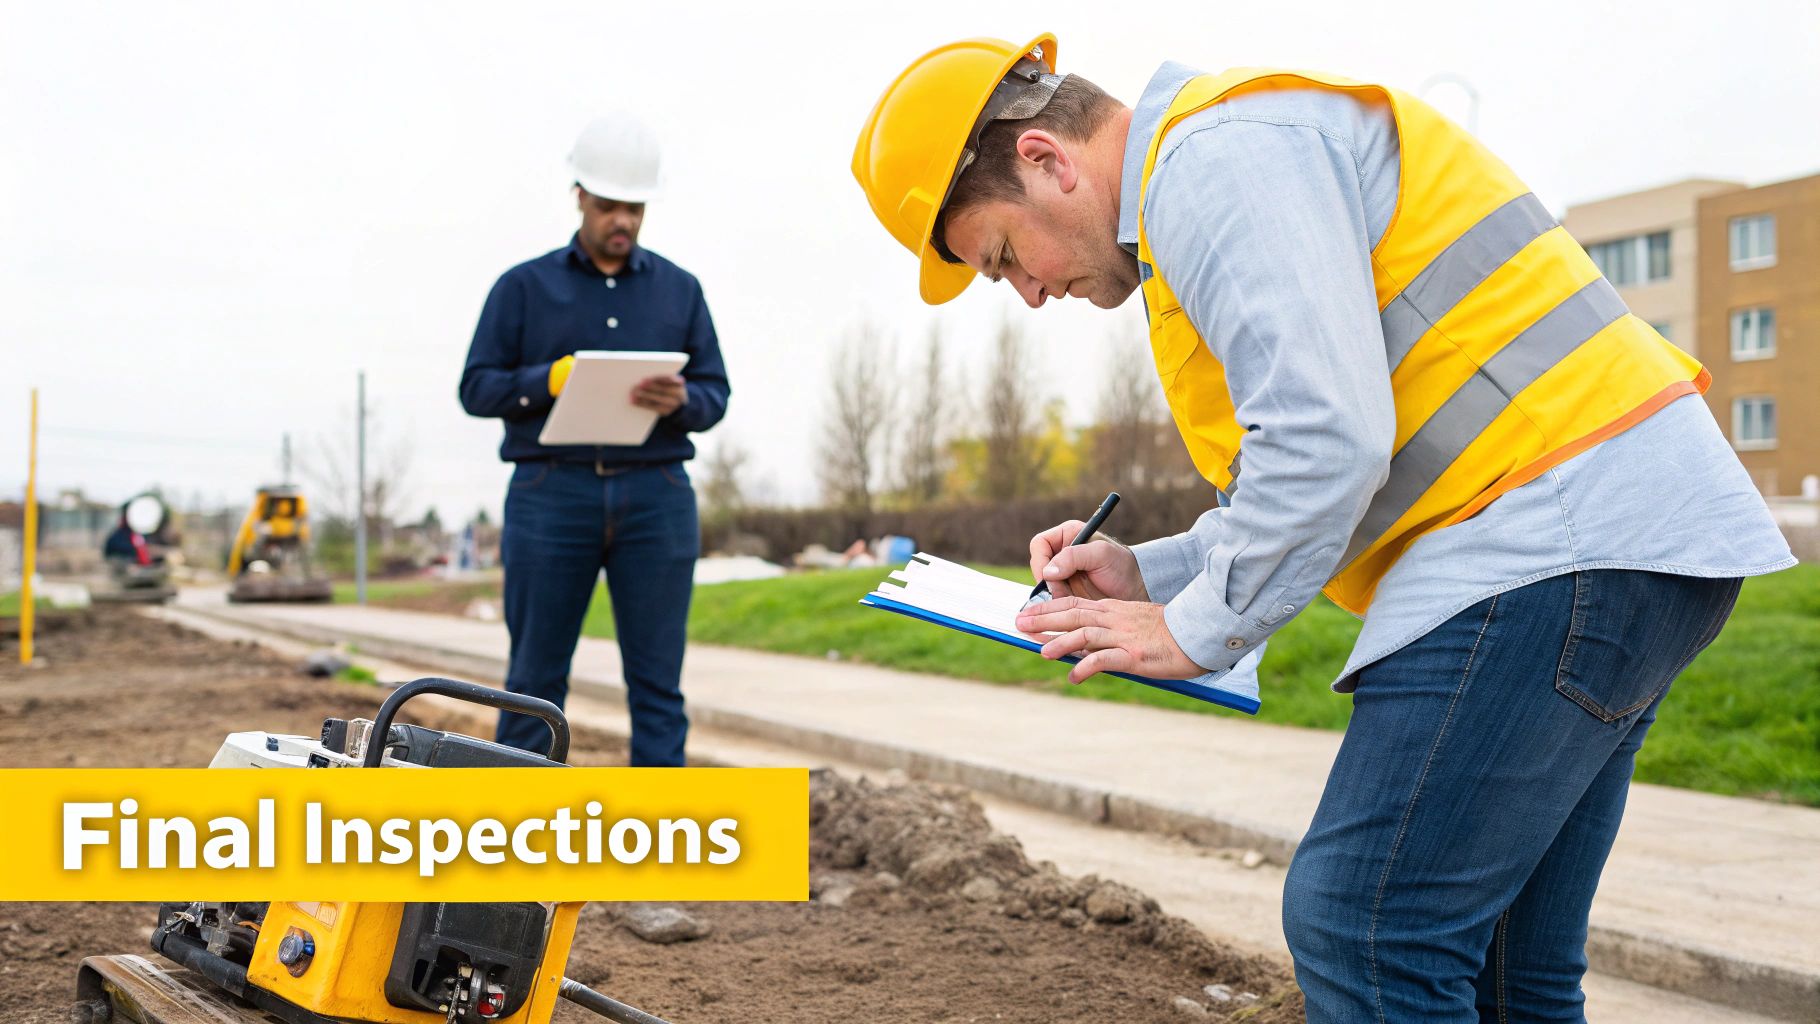
You might think the job’s done once the last bucket of soil is out of the ground, but you’d be mistaken. The final stages of the excavation are arguably the most critical. This is where we lock in the stability of your foundation for its entire lifespan, turning a precisely dug hole into the solid base your build needs for long-term success.
Before a single drop of concrete is poured, a structural engineer or a private certifier needs to come to the site and sign off on the work. They'll meticulously check that everything—excavation depths, footing dimensions, and the exposed soil conditions—matches the approved engineering plans perfectly. This isn’t just a box-ticking exercise; it's a crucial quality check to confirm the ground can actually support the designed load.
The Art of Backfilling and Compaction
Once the engineer gives us the green light, our focus shifts to backfilling. This isn't as simple as just shoving all the dirt back in. It’s a careful, deliberate process designed to prevent any future settlement, which is a leading cause of those disastrous structural cracks you see in older homes.
We return the soil around the new footings in controlled layers, what we in the industry call 'lifts'. Each lift is typically no more than 150-200mm deep. After each lift is placed, it's mechanically compacted to achieve a very specific density. This process squeezes out any hidden air pockets or loose soil that could compress over time under the immense weight of the structure.
Why It Matters: Proper compaction is the final, vital step in guaranteeing the ground supporting your home remains solid and stable. Rushing this stage or using unsuitable fill material is a false economy that can lead to incredibly expensive repairs years down the track.
This meticulous work is the unseen hero of Australia's massive construction industry. According to the Australian Bureau of Statistics, building work, which includes foundations and slabs, accounted for about $38.3 billion of all construction activity in the September quarter of 2023. It's a number that really highlights the economic importance of getting this final stage of the excavation for foundation absolutely right. You can read more about construction activity data on the ABS website.
Managing Spoil and Final Site Tidy
Even with careful backfilling, there’s almost always leftover soil, which we call spoil. Managing this is a key part of finishing the job properly.
Some of it might be stockpiled for later use in landscaping, but often, a significant amount needs to be hauled away. There are strict environmental regulations around soil disposal, which we cover in our guide on how to properly dispose of soil. A professional contractor handles all these logistics, ensuring your site is left clean, tidy, and perfectly prepped for the concreters to move in and start their work.
Got Questions About Foundation Excavation? We've Got Answers.
When you're staring at a set of plans and trying to picture the finished build, it’s only natural to have a heap of questions about the first big step: the excavation. Having spent over 15 years on sites all over the Central Coast, Sydney, and Newcastle, we've pretty much heard them all.
So, let's get straight into it. Here are the clear, no-nonsense answers to the questions we get asked most by builders and homeowners alike, all based on what we see out in the field every single day.
How Much is This Going to Cost Me?
That's the big one, isn't it? And the honest answer is: it completely depends on your block. There's no flat rate for digging a hole. The final cost comes down to a few key things: site access, the type of soil we're dealing with, how deep we need to go, and the sheer volume of dirt we need to haul away.
To put it in perspective, a straightforward job on a flat, sandy block in a Central Coast suburb like Woy Woy (postcode 2256) is a world away from a steep, rocky site in Sydney’s northern suburbs. That Sydney job might need specialised rock breaking gear, traffic control, and a whole different logistical plan.
Your quote is built from machine hire rates, labour costs, spoil disposal fees, and any extras like shoring. We always do a thorough site inspection first so we can give you a detailed quote with no hidden surprises. Transparency is key.
How Long Does Foundation Excavation Usually Take?
For a standard single-storey home on a clear, relatively flat block, you could be looking at anywhere from two to five days for the main excavation and footing dig. But think of that as a best-case scenario.
Things can stretch out. A week of solid rain, hitting a stubborn ledge of sandstone, or logistical headaches getting trucks in and out can all add days to the timeline. A basement dig or a tight-access job could easily take several weeks. Having an experienced crew and a solid plan is the best way to keep things moving.
Honestly, the most common delay isn't the digging itself—it's what we find when we start digging. Unexpected rock, contaminated soil, or old, undocumented pipes can stop a job in its tracks while everyone regroups to figure out a new plan.
What Happens if You Find Rock or Contaminated Soil?
Discovering unexpected ground conditions is one of the biggest risks in any dig. If we hit a serious amount of rock, it's not a deal-breaker, but it does mean we'll likely need to bring in heavier gear like hydraulic hammers or rock saws. That will, of course, have an impact on both the timeline and the budget.
If there's any sign of contaminated soil, everything stops. Immediately. That's a non-negotiable under NSW EPA rules. The next step is getting an environmental consultant to test the soil. If it comes back positive for contamination, a whole new remediation and disposal plan has to be put in place, which adds significant time and cost. This is exactly why a good geotechnical report upfront is worth its weight in gold—it flags these risks before we even break ground.
Can I Just Dig the Foundation Myself?
It’s tempting to look at a mini excavator hire and think you could save a few bucks. But honestly, foundation excavation is a high-risk job that's best left to the pros. It takes a huge amount of skill to operate an excavator and get the precise levels and falls your engineer has specified.
More importantly, the safety risks are serious. You could hit underground power or gas lines, trigger a trench collapse, or even roll the machine. A professional contractor is licensed, insured, and knows the SafeWork NSW rulebook inside and out. Getting it wrong can mean creating major structural problems for your build or, far worse, causing a serious accident. It's just not worth the risk.
At Booms Up Civil Group, our entire focus is on getting the groundwork right the first time, every time. If you've got more questions or need an expert eye on your project across the Central Coast, Sydney, or the Hunter Valley, get in touch with our team.
Find out how we can help at https://boomsupcivil.com.au.